
November 9, 2022
I regularly get questions about my chosen medium, acrylics. And how to make sure that the leftovers and soiled rinse water do not get into the environment. There is actually a fairly simple and quick way to do this. Acrylics dissolve in water, but that does not mean that the paints are ‘clean’. The undiluted pigments in each tube may be harmful, so when cleaning up after yourself, it is best to do so in a controlled way, without clogging up the pipes under your sink or even in storm drains. The process described in this article can be used for watercolours as well, because these also use the same pigments. I do not work with oils, so I cannot speak to that medium.
Before we get started, let me first share with you how I work with my materials.
When I paint, I collect dirty rinse water in a plastic container with a lid. The plastic containers that contain bird feed or epsom salts for the bath are perfect for this purpose. I usually paint on a paper palette paper pad, or a stay-wet palette; both make it easy to contain the paints. When I am done with a piece of palette paper, I let the remaining paints on it dry out. In summer I do that outside, under a cover so wildlife cannot get at it; in winter I might leave them out in the studio close to an open window or in the garage, close to the door. It takes about a week for everything to dry, especially when I use Open Acrylics, and by then the chemicals in the paints have dried and become inactive and are safe to dispose of in regular garbage.
Shopping list
Here is what you need to buy to clean your soiled rinse water:
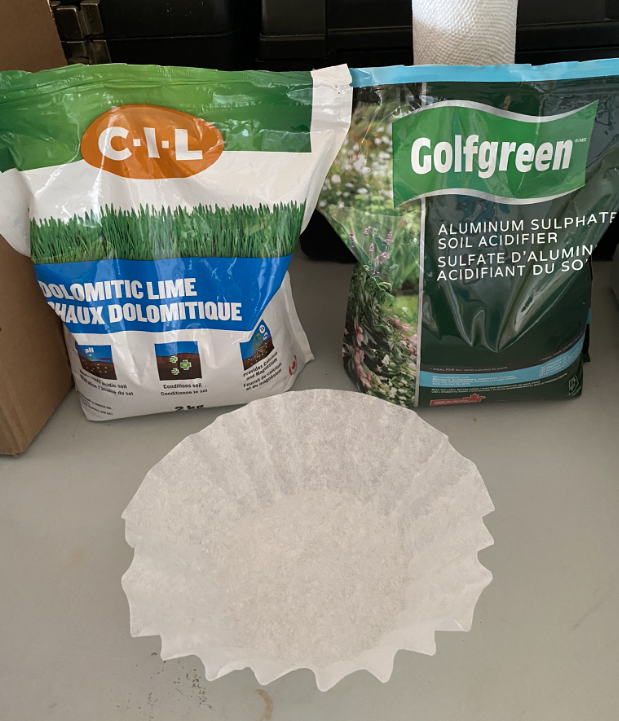
- A bag of Dolomitic Lime
- A bag of granulated Aluminium Sulphite (a.k.a. lawn acidifier)
- (both usually for sale in stores that have lawn maintenance materials on their shelves)
- A bag of the widest round large-size coffee filters you can get (Amazon) – 18″ or 24″ size work best
- A book of PH indicator strips (Amazon)
- Wooden stirring paddles (like the ones used for stirring paint – you can usually get them for free in stores like Canadian Tire)
- Measuring spoons (keep separate from kitchen utensils)
- Cheap buckets with a lid
- Some collapsible colanders with FLAT bottom (not funnel) (Amazon); Best size is the one that fits the size of your buckets
- A couple of mason jars (as many as you have rinse-water-containers to clean)
- Eye protection goggles, nose/mouth mask, gloves and apron
Let the cleaning begin!
When your rinse water container is 3 quarters full, it is time to start cleaning.
- In a safe, space such as a garage or shed, set out your buckets, remove the lids and place the colanders on top, with 2 filters per colander spread out in them. I have 3 sets, so I can work as quickly as possible.
- Put on goggles, gloves, mask and apron, if you wish. Fill half of each mason jar with water and, per gallon of rinse water (appr. 4 liters), mix in a generous ½ TABLE spoon (10 grams) of aluminum sulphite, replace lid and stir vigorously until the grains have dissolved.
- Pour the mix into your rinse water container, replace lid and stir or shake vigorously, making sure not to spill. The spills are not said to be harmful for your skin, but better safe than sorry!
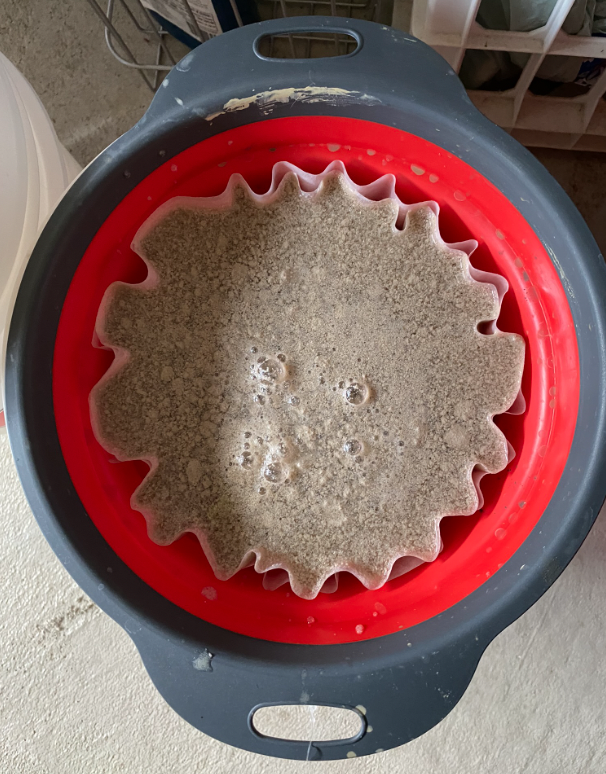
- Next, remove the lid of the rinse water container, add ¾ TABLE spoon of Lime to the rinse water, replace lid and shake vigorously. You will immediately see the effect, that is also referred to as flocculation. This means that the rinse water separates into fluids and solids. It’s a cool process to watch! If you do not see this, add another round of the chemicals.
- Now pour the rinse water onto the filters in the colanders. The more buckets you have, the quicker you can clean the rinse water; or else just return for the next pour when the first one has run through.
- You will end up with a dirty sludge in the filters and absolutely clean water in your buckets. Dip a PH strip in the clean water to check acidity. It should be between 5 and 9.
- If lower, adjust by adding lime.
- If higher, adjust by adding aluminum sulfate.
Let the sludge dry out in the filters. This usually takes a couple of days. Then fold and dispose of in household garbage bag.

The clean water can be poured in the toilet or in a storm drain, as it is no longer toxic.
The source of this process is Golden, one of the manufacturers of the paints I use.