The following is based on my personal experiences with our semi-feral cat. It certainly is not gospel and you may have different preferences. Every single animal is unique! I hope that my list is useful to you, but, as always: take what you like, and leave the rest.
Notes: scroll down to the bottom of this page to see a video with the cat’s perspective
Doing this part of the ‘operation’ cause me quite a bit of stress. First I was afraid of the trapping itself, then of the transfer to a carrier in the nursery crate, then moving the whole family to another room and finally getting them in one or more carriers to go to the vet. Lots to be nervous about and the only remedy for me to keep my jitters in check was to collect as much information as possible. It still meant I had to do this on my own, but every bit of info was useful.
Transferring from trap to crate/safe holding space
Prepwork:
- Remove anything from the crate that might get in your way.
- No food bowls, no toys and that kind of stuff
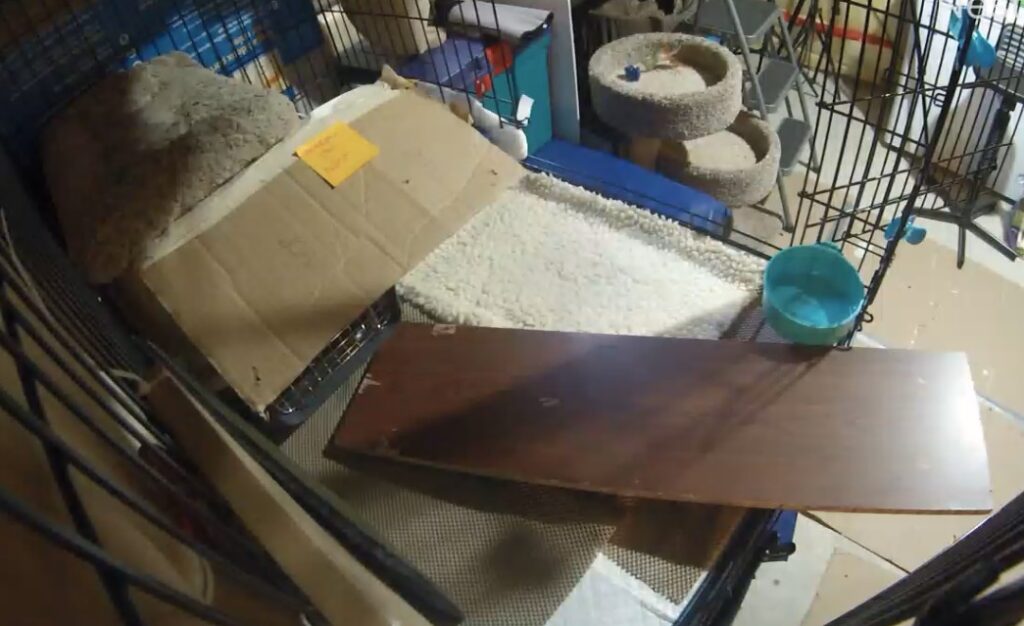
- Slide a smooth plank into the crate to promote easy insertion of the trap into the crate without rattling and bumping over the crate’s mesh wire threshold
- Make sure the pet carrier has its door installed, so that you can lock it securely!
Notes: scroll down to the bottom of this page to see the referenced pictures
- Insert a flat object behind the door of the shelter/carrier so that it will be easy to close after the cat goes into the shelter/carrier
- In Picture 1 this is a bit hard to see. It is a dark green flat piece of foamboard leaning against the side of the crate. It blocks the left escape route once the trap is pushed up against the carrier. You can see this foamboard better in Picture 5
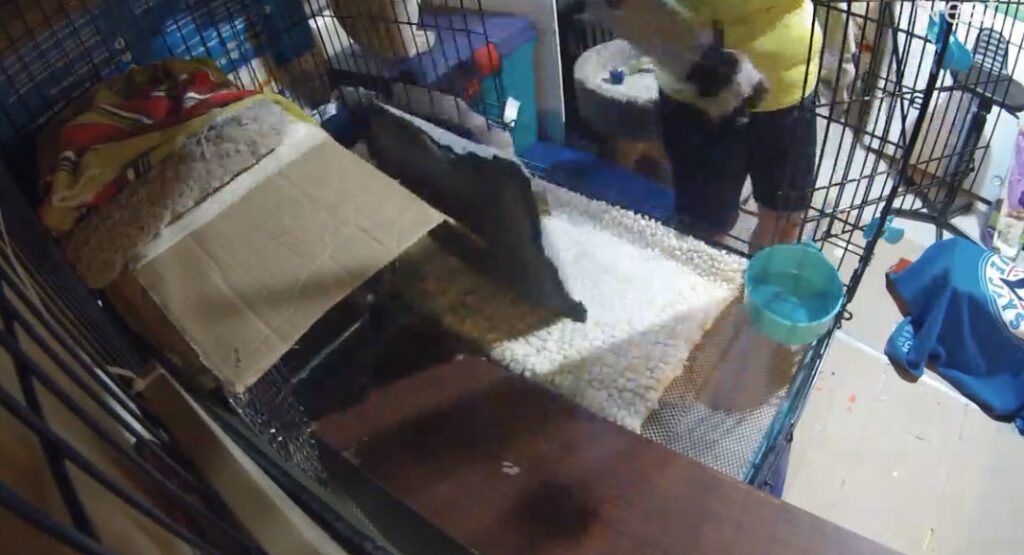
- Have a flat object or small firm pillow or a bunch of towels ready to block the escape route on the side that is turned towards you (see Picture 2)
- Now open the front door of the crate and lift the trap with the front towards that carrier, place it on the shelf and glide it down to the carrier opening.
- If you have a metal trap divider, this is the time to push it into the trap. This keeps the cat from jumping out as you open the trap door
- Open the trap door. The animal is still blocked from coming out at this time (see Picture 4)
- With the trap door open and the divider still in place, move the trap as close to the shelter/carrier as possible, while blocking all escape routes behind, up top and to the side of the trap opening
- Remove the divider
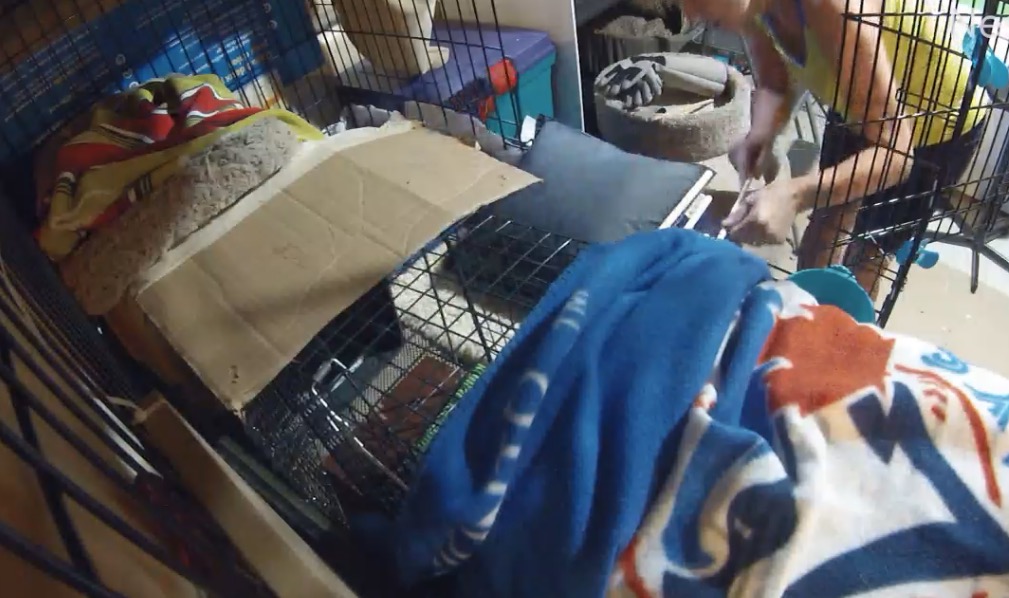
- Note: Our dividers did not arrive in time, so we used multiple wooden dowels to create a barrier instead (see Picture 3). They did not work perfectly: after we had opened the trap door, the cat managed to wriggle herself right through the dowel openings! Probably because there was some ‘give’ in the wood; more than there would have been in a metal divider. It could have easily injured her kittens… Her belly was pretty big and to this day we do not understand how she got through. Lucky for us she went straight into the carrier without trying to escape sideways… Counting my blessings!
- Lift the blanket from the back to the front
- The assumption is that the cat will want to move away from the light and into the safety of the darker shelter
- If that is not the case, try to prod it gently with a wooden dowel stick
- When the cat is in the carrier-shelter, have your helper pull back the trap and close the crate’s front door and: at the same time, from the side door, use the object you had in place to block the side escape route to close the door to the carrier and keep it pushed closed until the crate’s front door is closed and secured (see Picture 5). Often, animals are in shock and will not try to escape. But with a feral that is going out of its mind, you might have a fight on your hands. Better safe than sorry.
- Get ready to take away the object – door will still be closed but not locked (but the cat won’t know that…)
- With bite gloves on, quickly lock the carrier/shelter
- Both you and the animal are now safe and secure.
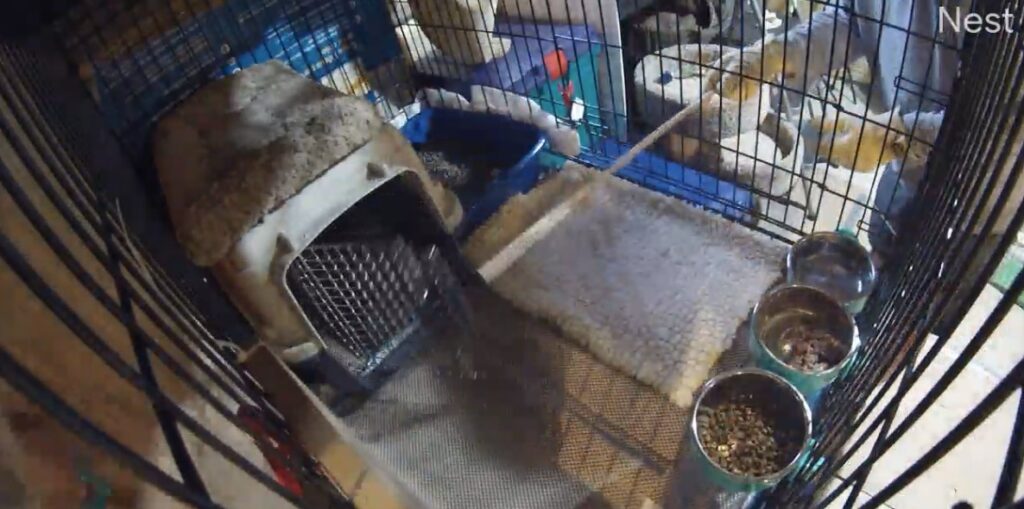
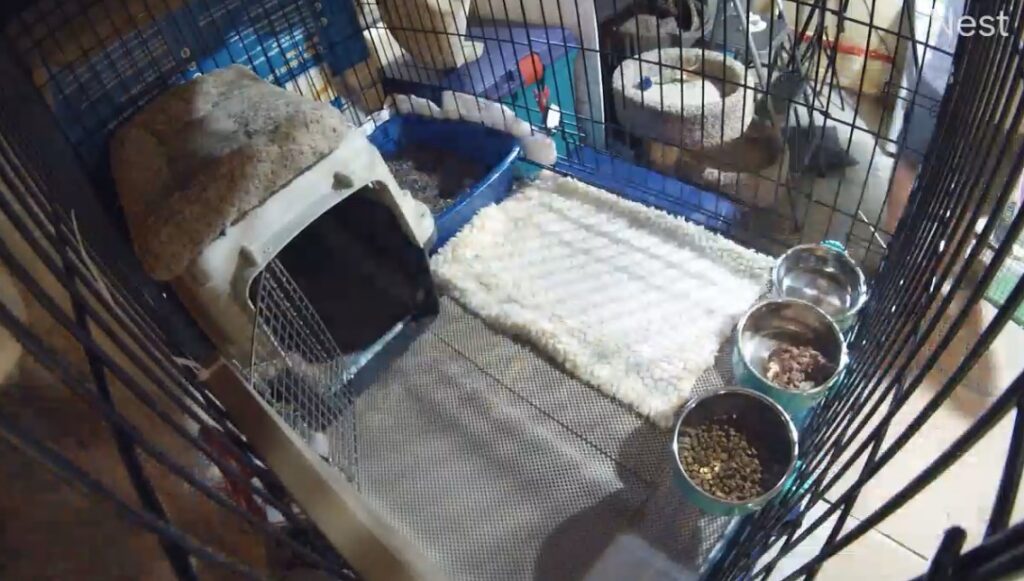
- The crate doors can now remain open and you can now finish your prepwork to make the crate a ‘home’:
- put the food and water bowls in the crate
- check that the litter box is filled and ready to go
- straighten any bottom materials
- Tip:
- If you are dealing with a feral cat, place the food bowl that will contain kibble furthest away from your preferred access door, then water in the middle and then wet food. Why?
- No reason to panic if you cannot reach the kibble bowl to refresh – it will keep for a day or 2
- Water and wet food do need daily refreshing and both can be filled up from the outside
- If they are close to the access door, it is easier to quickly grab them to refresh, than when they are furthest away from you
- With bite gloves on, now carefully unlock the door to the shelter/carrier, but don’t open it just yet
- First and foremost: close ALL doors of the crate
- Open the door to the shelter/carrier using a long dowel or other stick from the outside (see Picture 6) and either leave it open or push it towards your helper at the side of the crate and secure it with clamps
- Securing the door to the side of the crate ensures that your cat will not accidentally walk into and close the door. There is something to check out before the kittens arrive: in some carrier models, the door hinges are located an inch or so away from the side opening. This creates a triangular space a kitten could potentially get stuck in. If you decide to secure the carrier door, fill up the space behind with some small towels. See Picture 8.
- All done! (see Picture 7). Now cover back, top and one side of the crate, leave the room and use your cat cams to keep an eye on the cat in the hours to come. Limit your interaction to 2 feeding times per day, until you see the cat relax and start to own the new space.
Congratulations! Your cat and you are now secure and the care taking can begin!


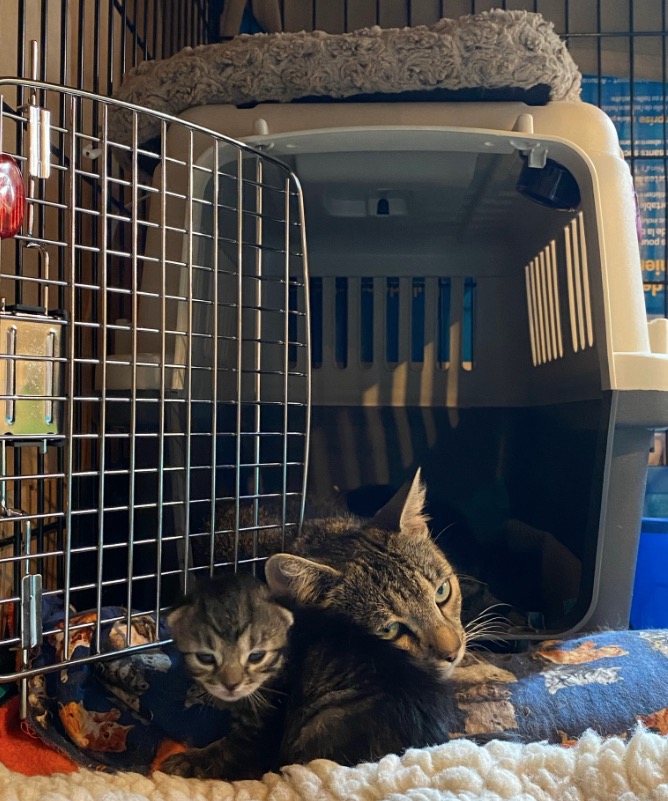
If you are curious to see the whole transfer operation from the cat’s perspective, have a look at this video. As you can see, the cat is panting with stress after everything is done. This took 40-50 minutes, then she started to calm down and fall asleep. Not a restful sleep, more like tuning out. But she did calm down and hours later, in the dark, she was seen investigating the crate and eating from the food. Her journey had started…